Before and After: The Pied-à-Terre Kitchen Transformation
If there is something in your life that is not working, change it. A good change of pace is essential to continue growing and learning in our forever changing world. This can apply to your personal life, your work environment, and of course your home–which has been housing most, if not all of these activities this year. In case you missed it, we added our recently completed Pied-à-Terre project to our online portfolio. The goal of this design was to change the flow and use of a space that was being underutilized and forced to function in a way that was not conventional for entertaining or gathering. This project is full of clean lines, luxurious textures, and a femme color palette for a mother-daughter duo.
The key request when starting this project was to open up the original galley kitchen. This would offer a better layout in the apartment, accommodate more storage and highlight those finishing touches of updated hardware and cabinetry to help make the room feel fresh, refined, and serene.
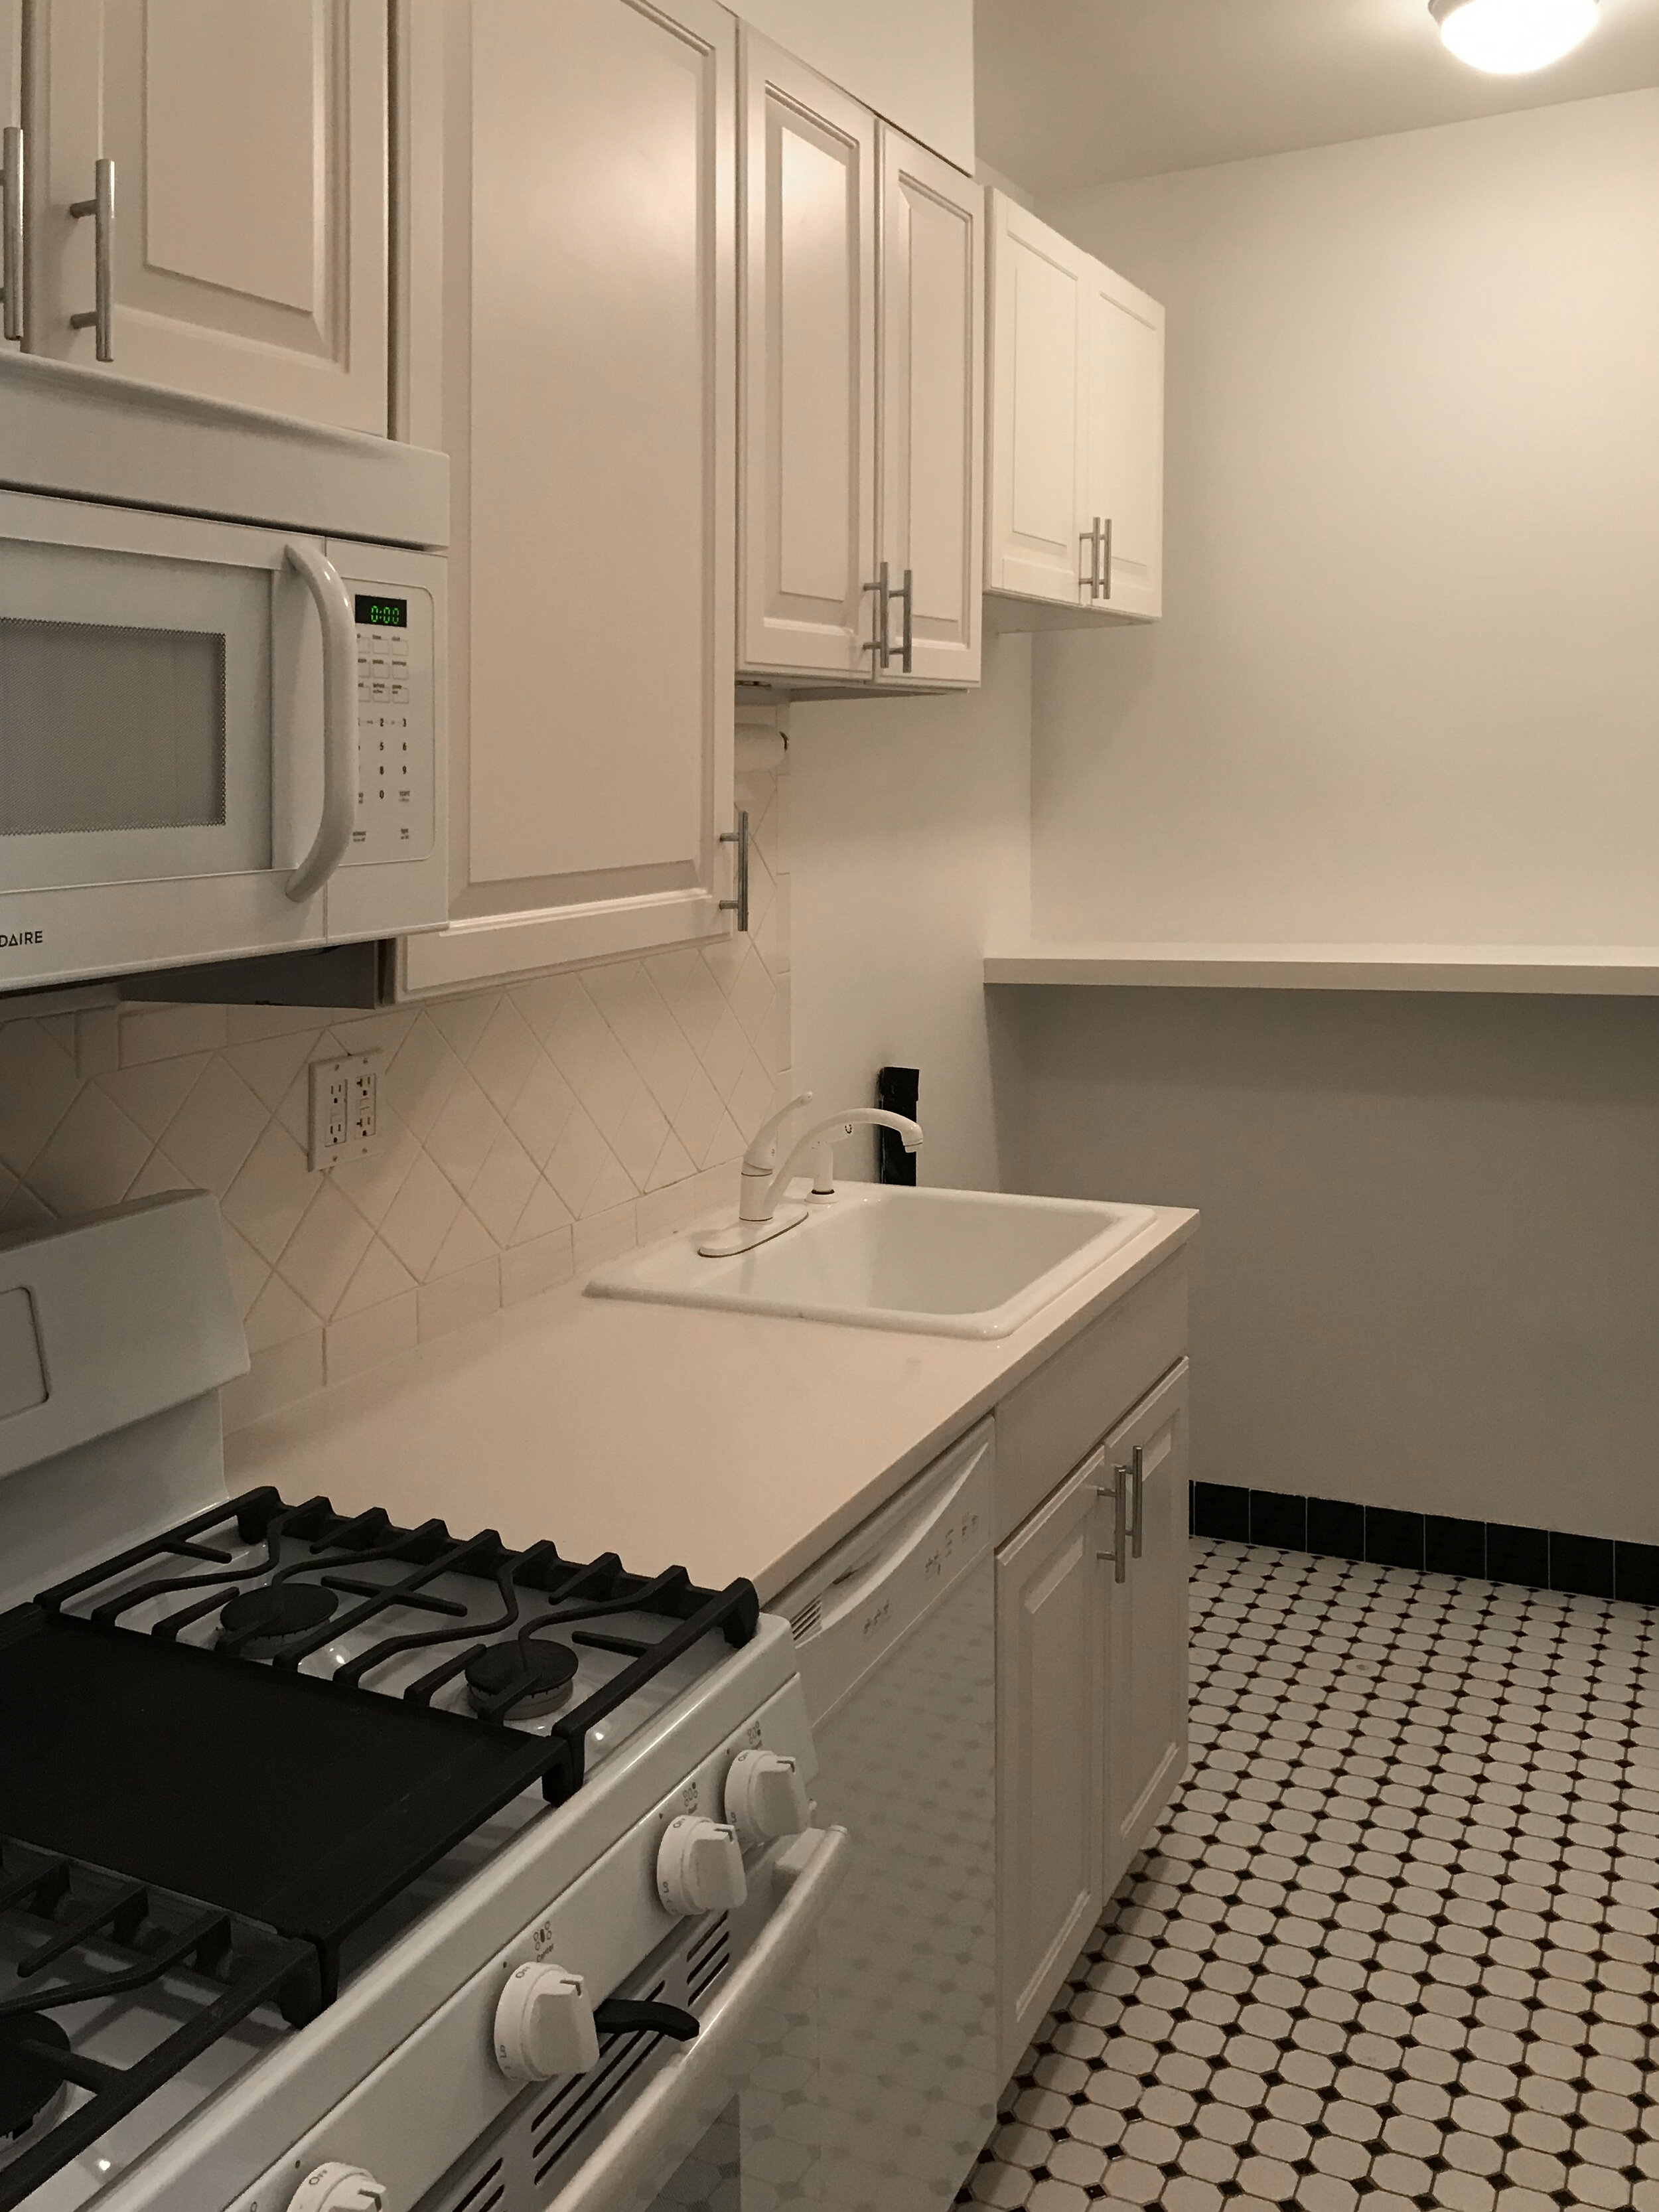
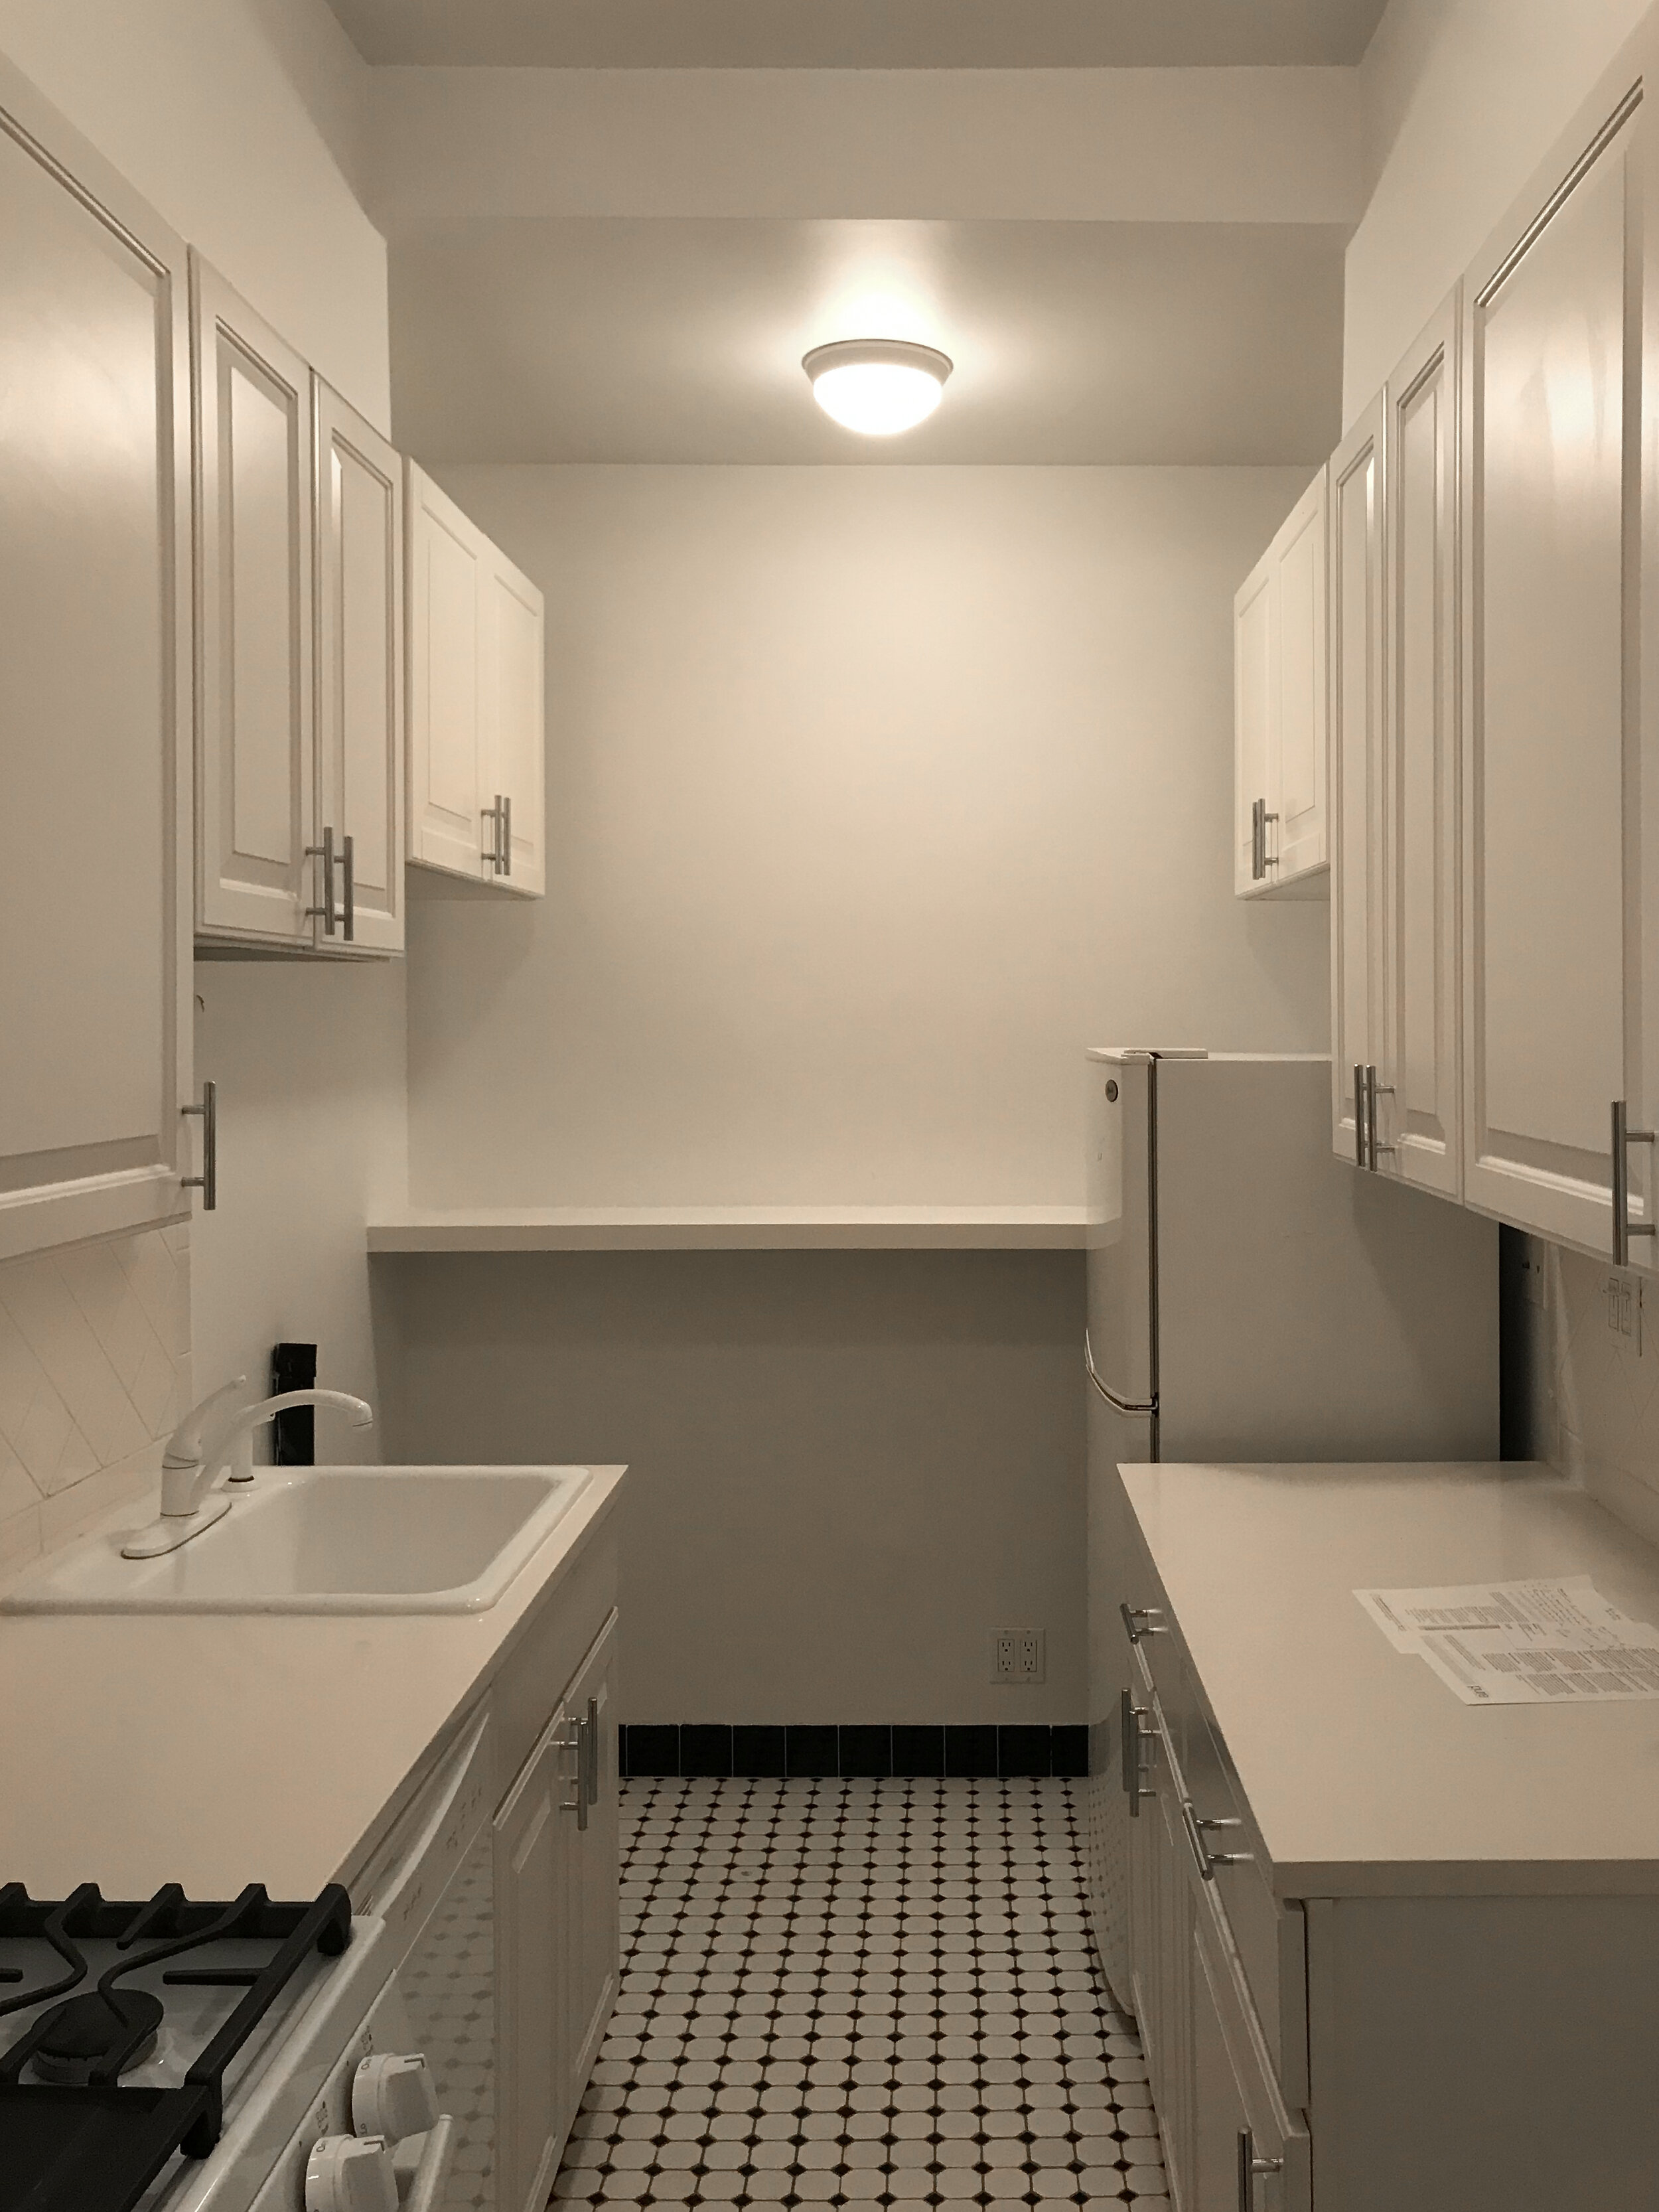
Below are a few initial project photos to show you exactly where this project started.

Creating a Better Kitchen Layout
The first thing we would like to address for this project’s success was our ability to take down the entry wall (with a little help). We were also able to relocate the sink, dishwasher, and all-in-one washer/dryer in the kitchen island. The contractor we worked with did not disappoint in making our requests a reality and before we knew it we were back on-site with a wall down and plumbing being troughed. This was a critical step in creating a higher-functioning layout for our client. As the kitchen originally stood, there was very little room for more than two people at a time to utilize the space. Galley kitchens are common in smaller NYC apartments, but when looking for ways to accommodate entertaining, our first move is typically to remove a wall, which would allow room for an island overhang where people can sit and gather while someone else is cooking up something good.
When renovating a kitchen one of the most important steps we like to tackle with the team up-front is the structural feasibility of everything on our design wishlist. We also take this opportunity to review the necessary investment it will take to make the vision happen. Sometimes we’ll find that existing plumbing cannot be relocated, or the expense cannot be accommodated in the budget we’ve agreed to with the client. By tackling these questions first, allows our team the ability to look at what is possible and maximize the design by utilizing materials, storage solutions, and appliances that make the most of the space and our clients' investment.

Creating Additional Kitchen Storage
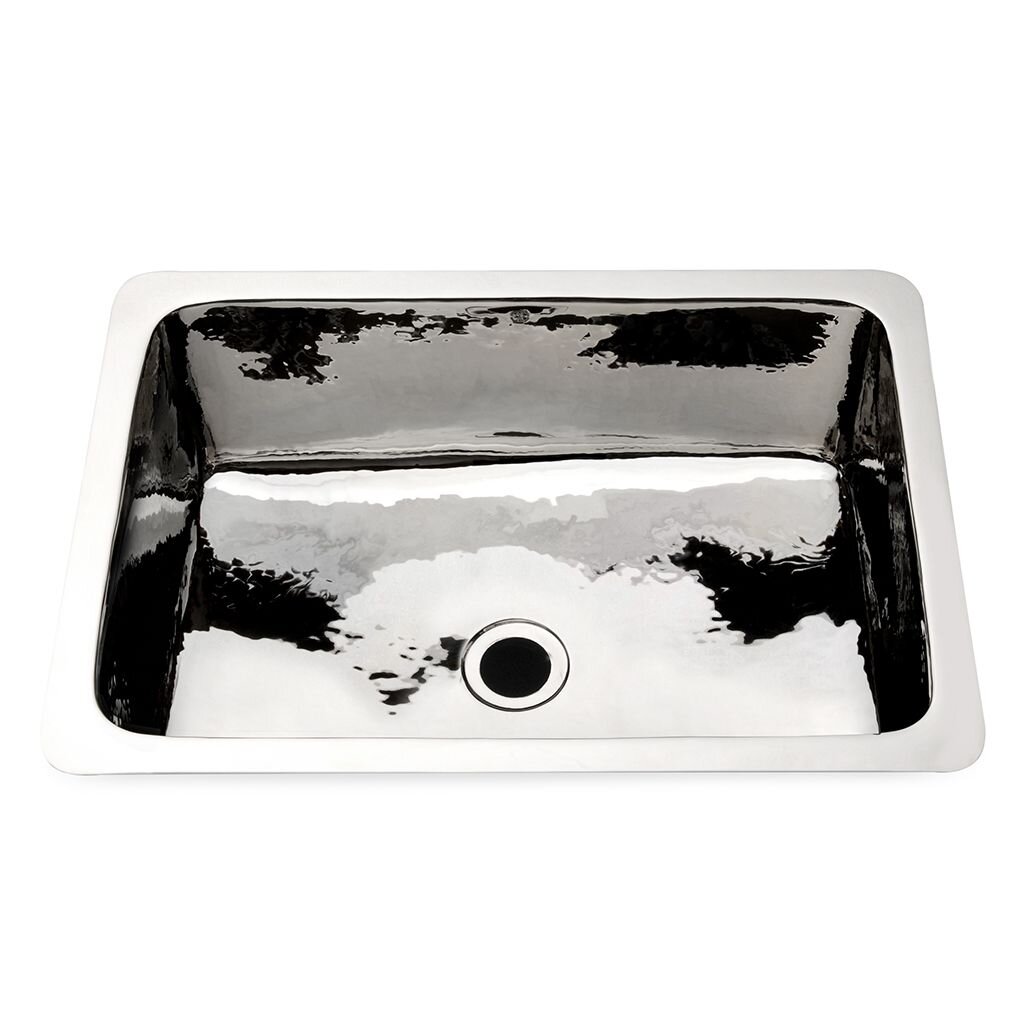
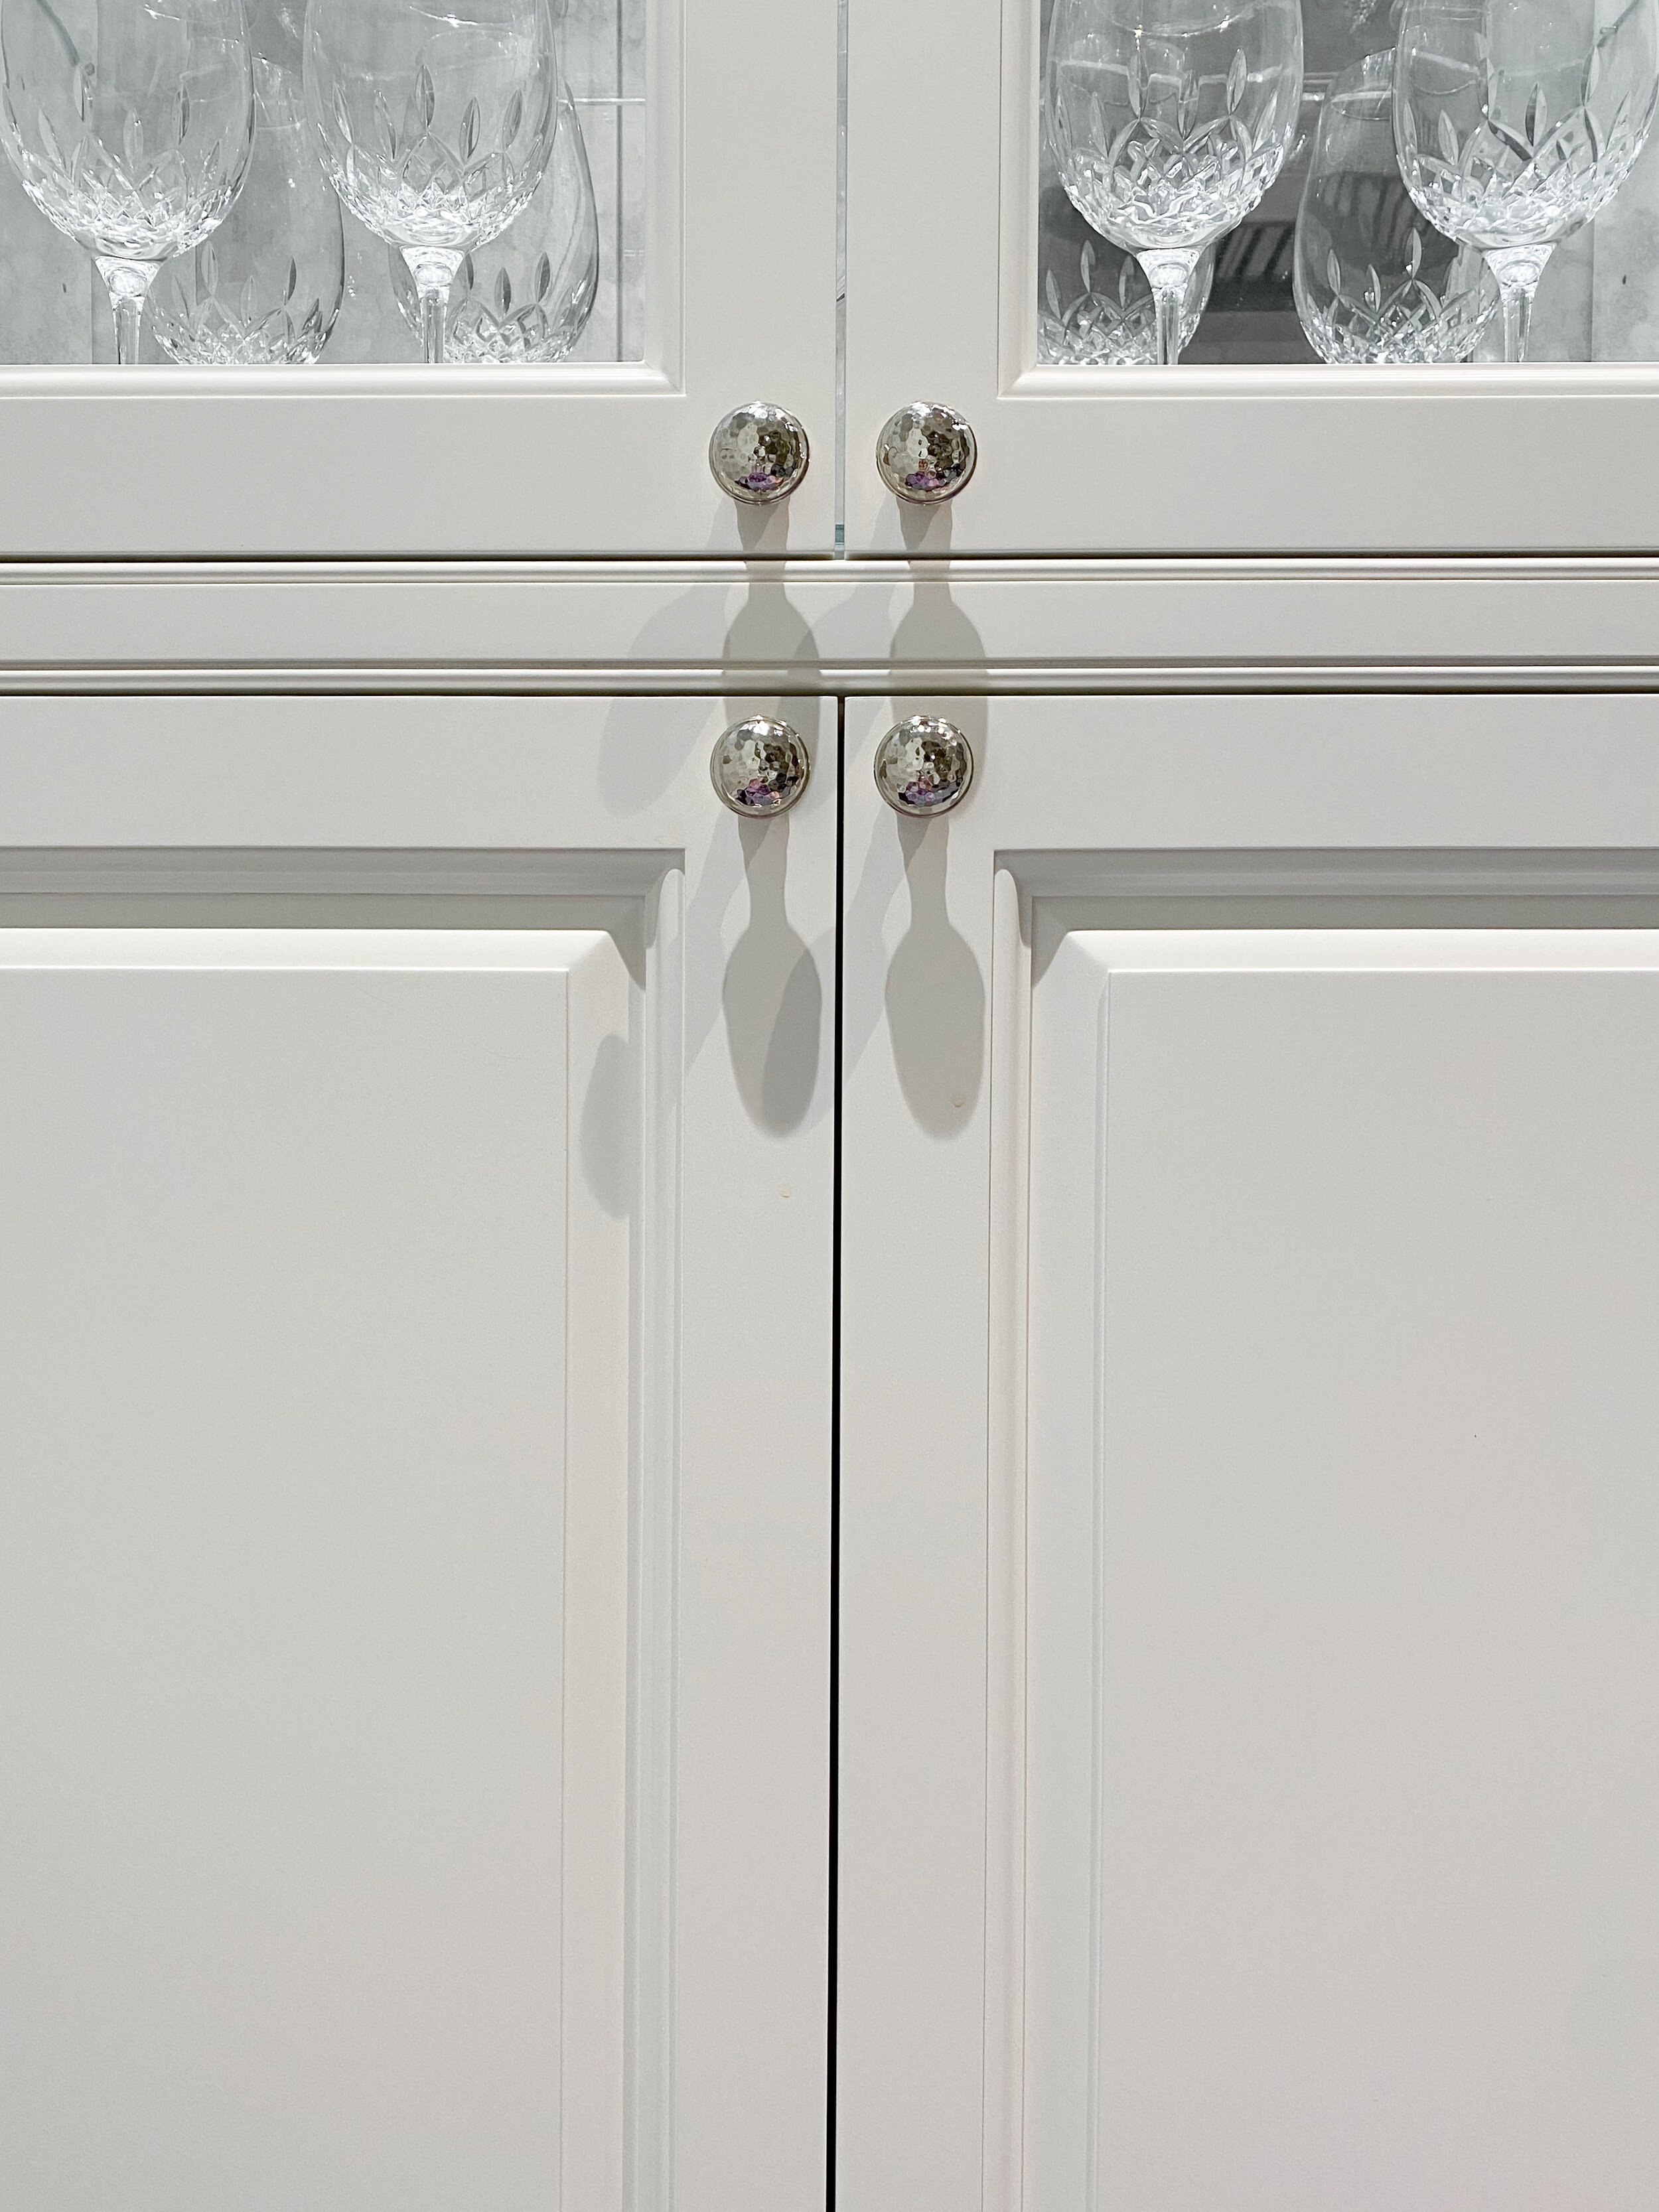
Once we knew the kitchen sink could be relocated, we were working with a revised kitchen triangle, and looking at cabinet interiors and appliances to maximize storage. By working with our custom millworker, we were able to come up with a few creative solutions such as stacked, pull out drawers in our interior cabinets flanking the right and left of the range. We added extra cabinetry, closer to the ceiling for those special holiday-related appliances that would not be needed on a daily basis. We were also able to add a small coffee and tea niche hidden behind the right-hand door which allowed us to maintain a symmetrical layout along the range wall. Opposite the wall, we were faced with a unique design solution where we only had about 10” of usable cabinet depth. We transformed that vertical cabinetry to be a display case with an antique mirror in the back, and glass cabinet doors and pin lights overhead to accentuate our clients’ beautiful crystal glasses. This was the perfect statement piece weaved into the space that served as additional storage and visually extended the feeling of openness in the kitchen.
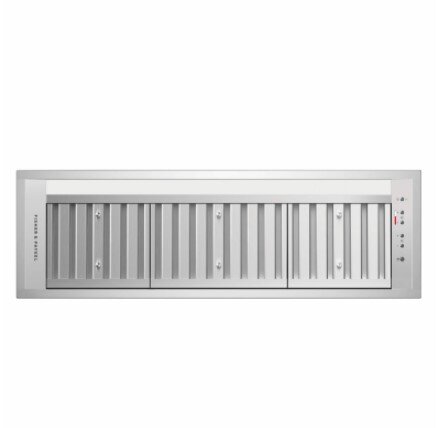
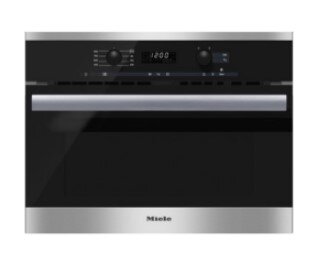
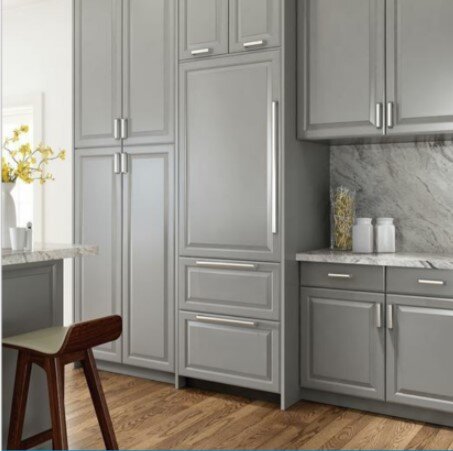
Cabinetry interiors and appliances can truly make all the difference in a kitchen. This project is evidence of that in our addition of a drawer dishwasher by Fisher & Paykel below the sink, and an all-in-one under cabinet washer/dryer for those quick apartment wash needs. We rounded everything out with a panel-ready refrigerator and integrated hood-vent and voila - we were ready for the finishing touches!
Hardware, Plumbing, and Cabinetry Panel Finishes
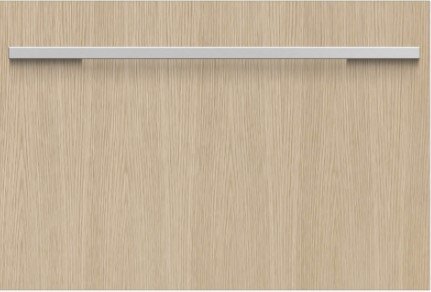
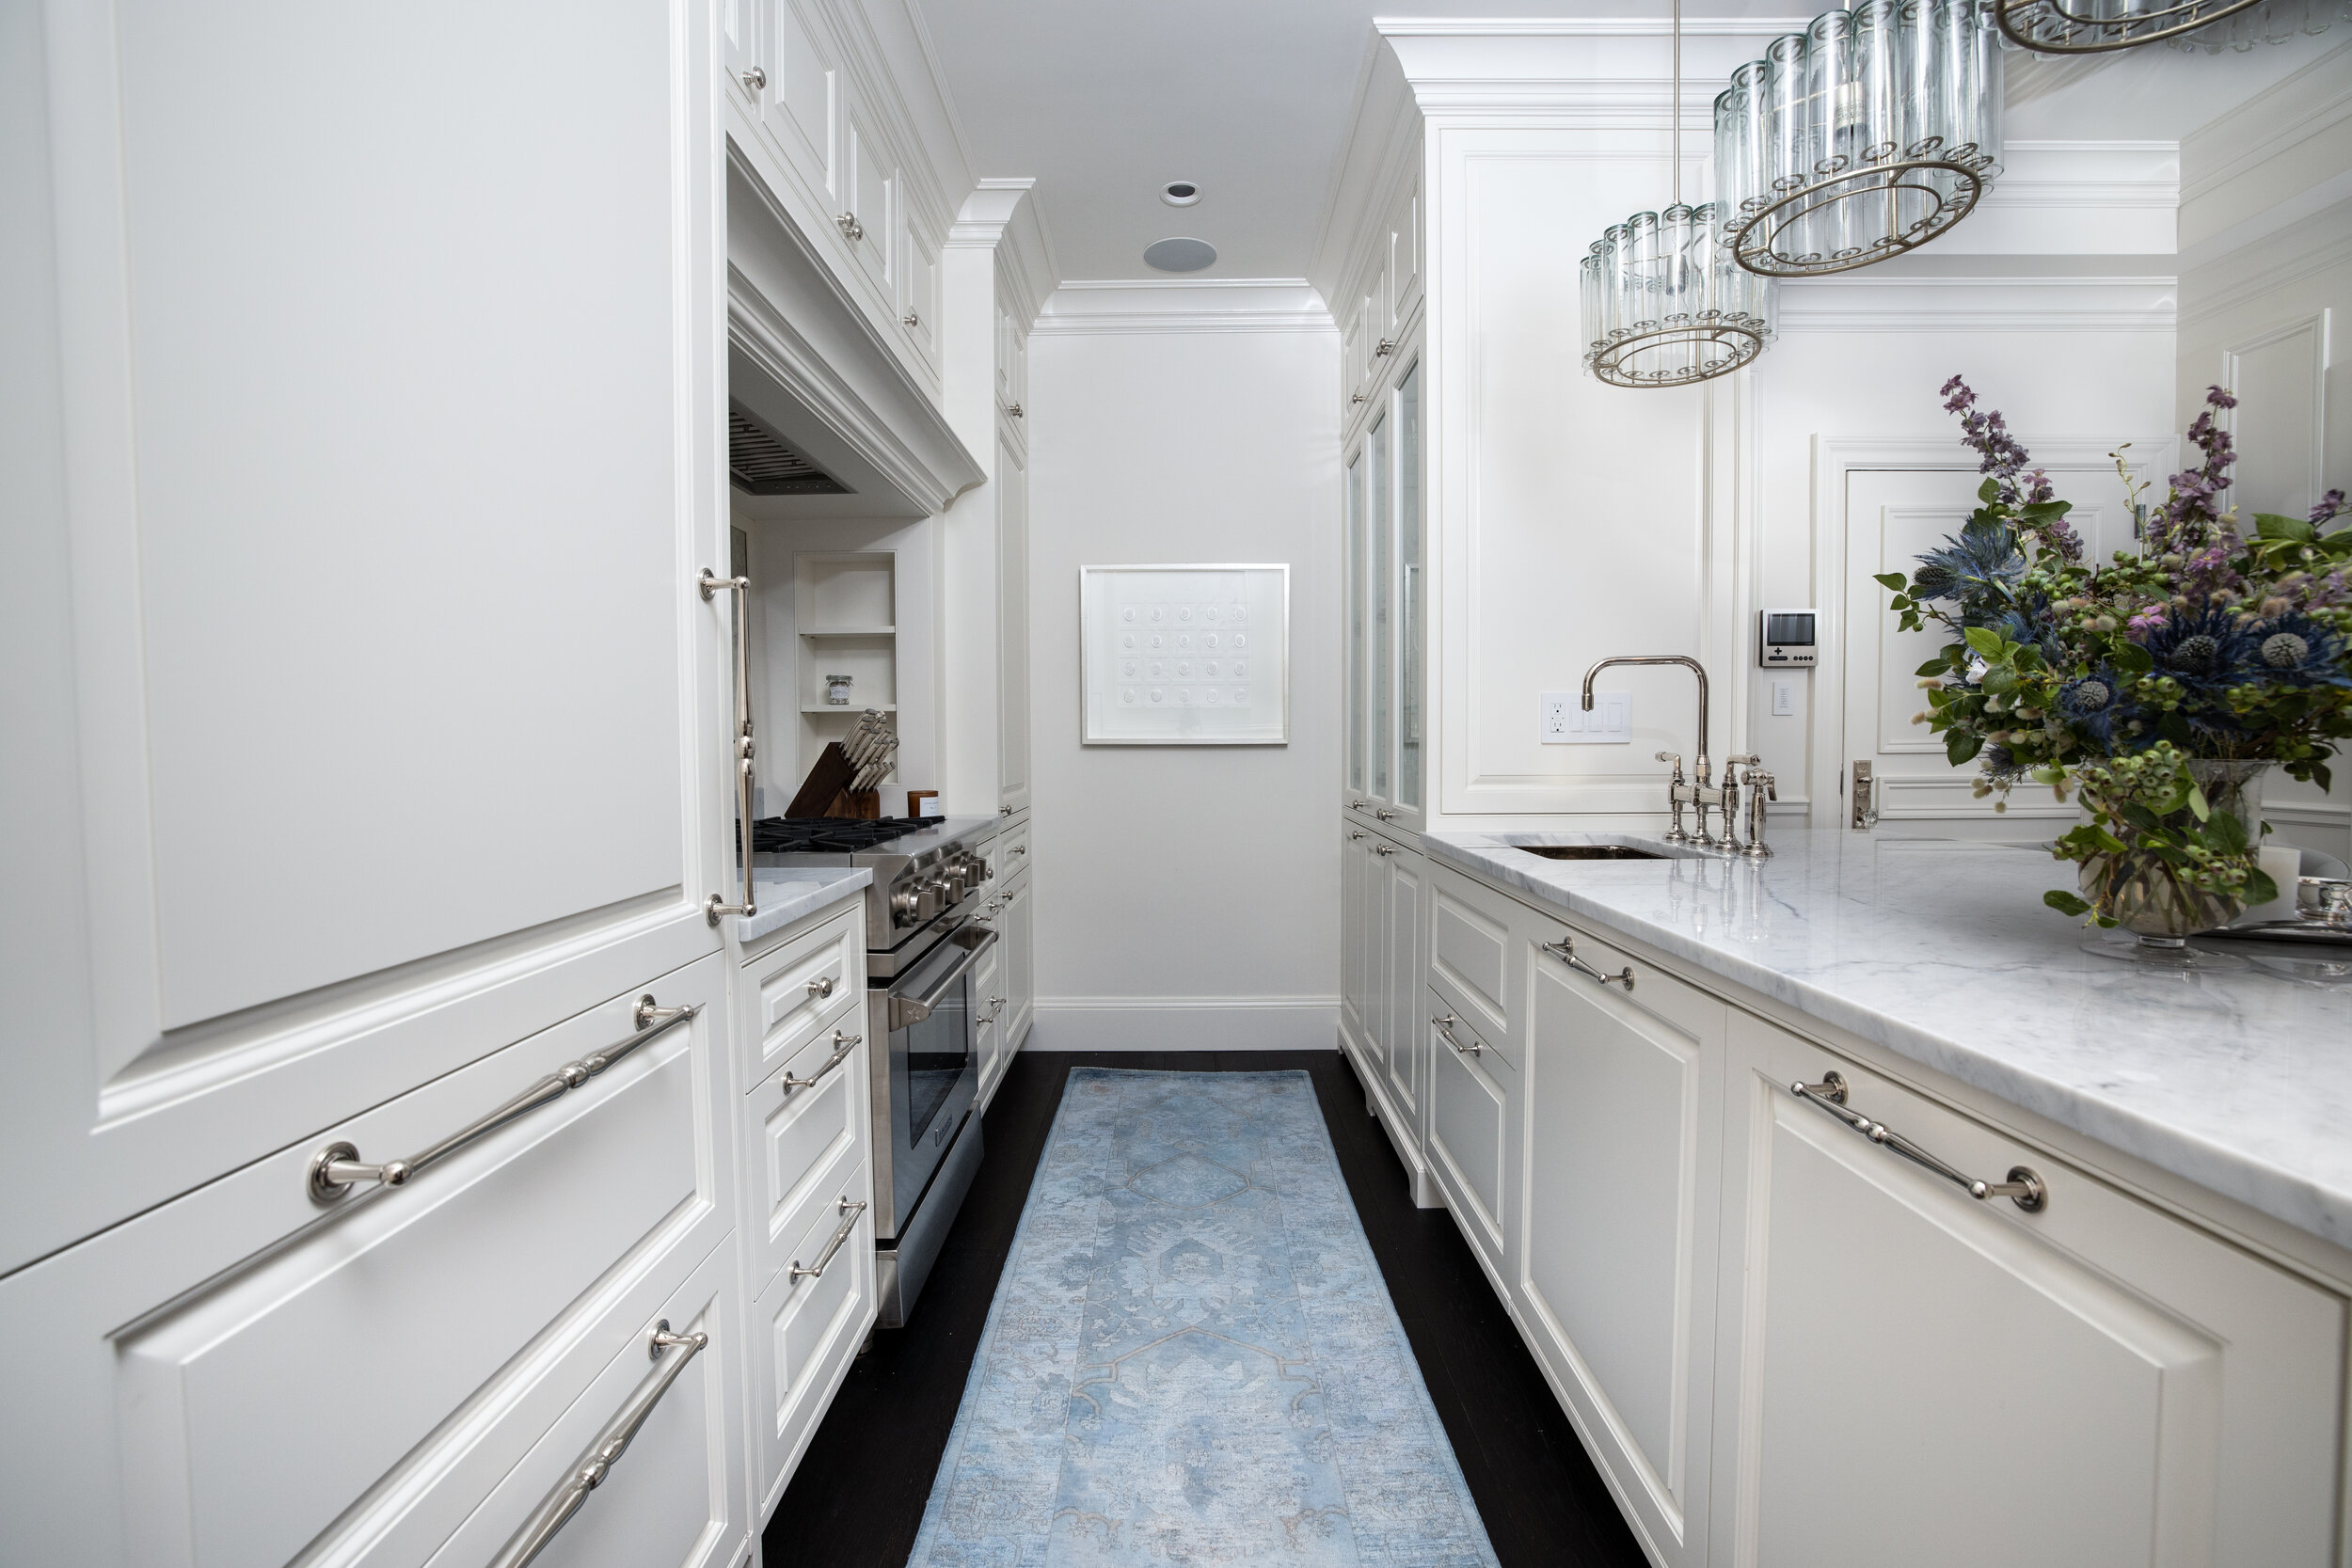
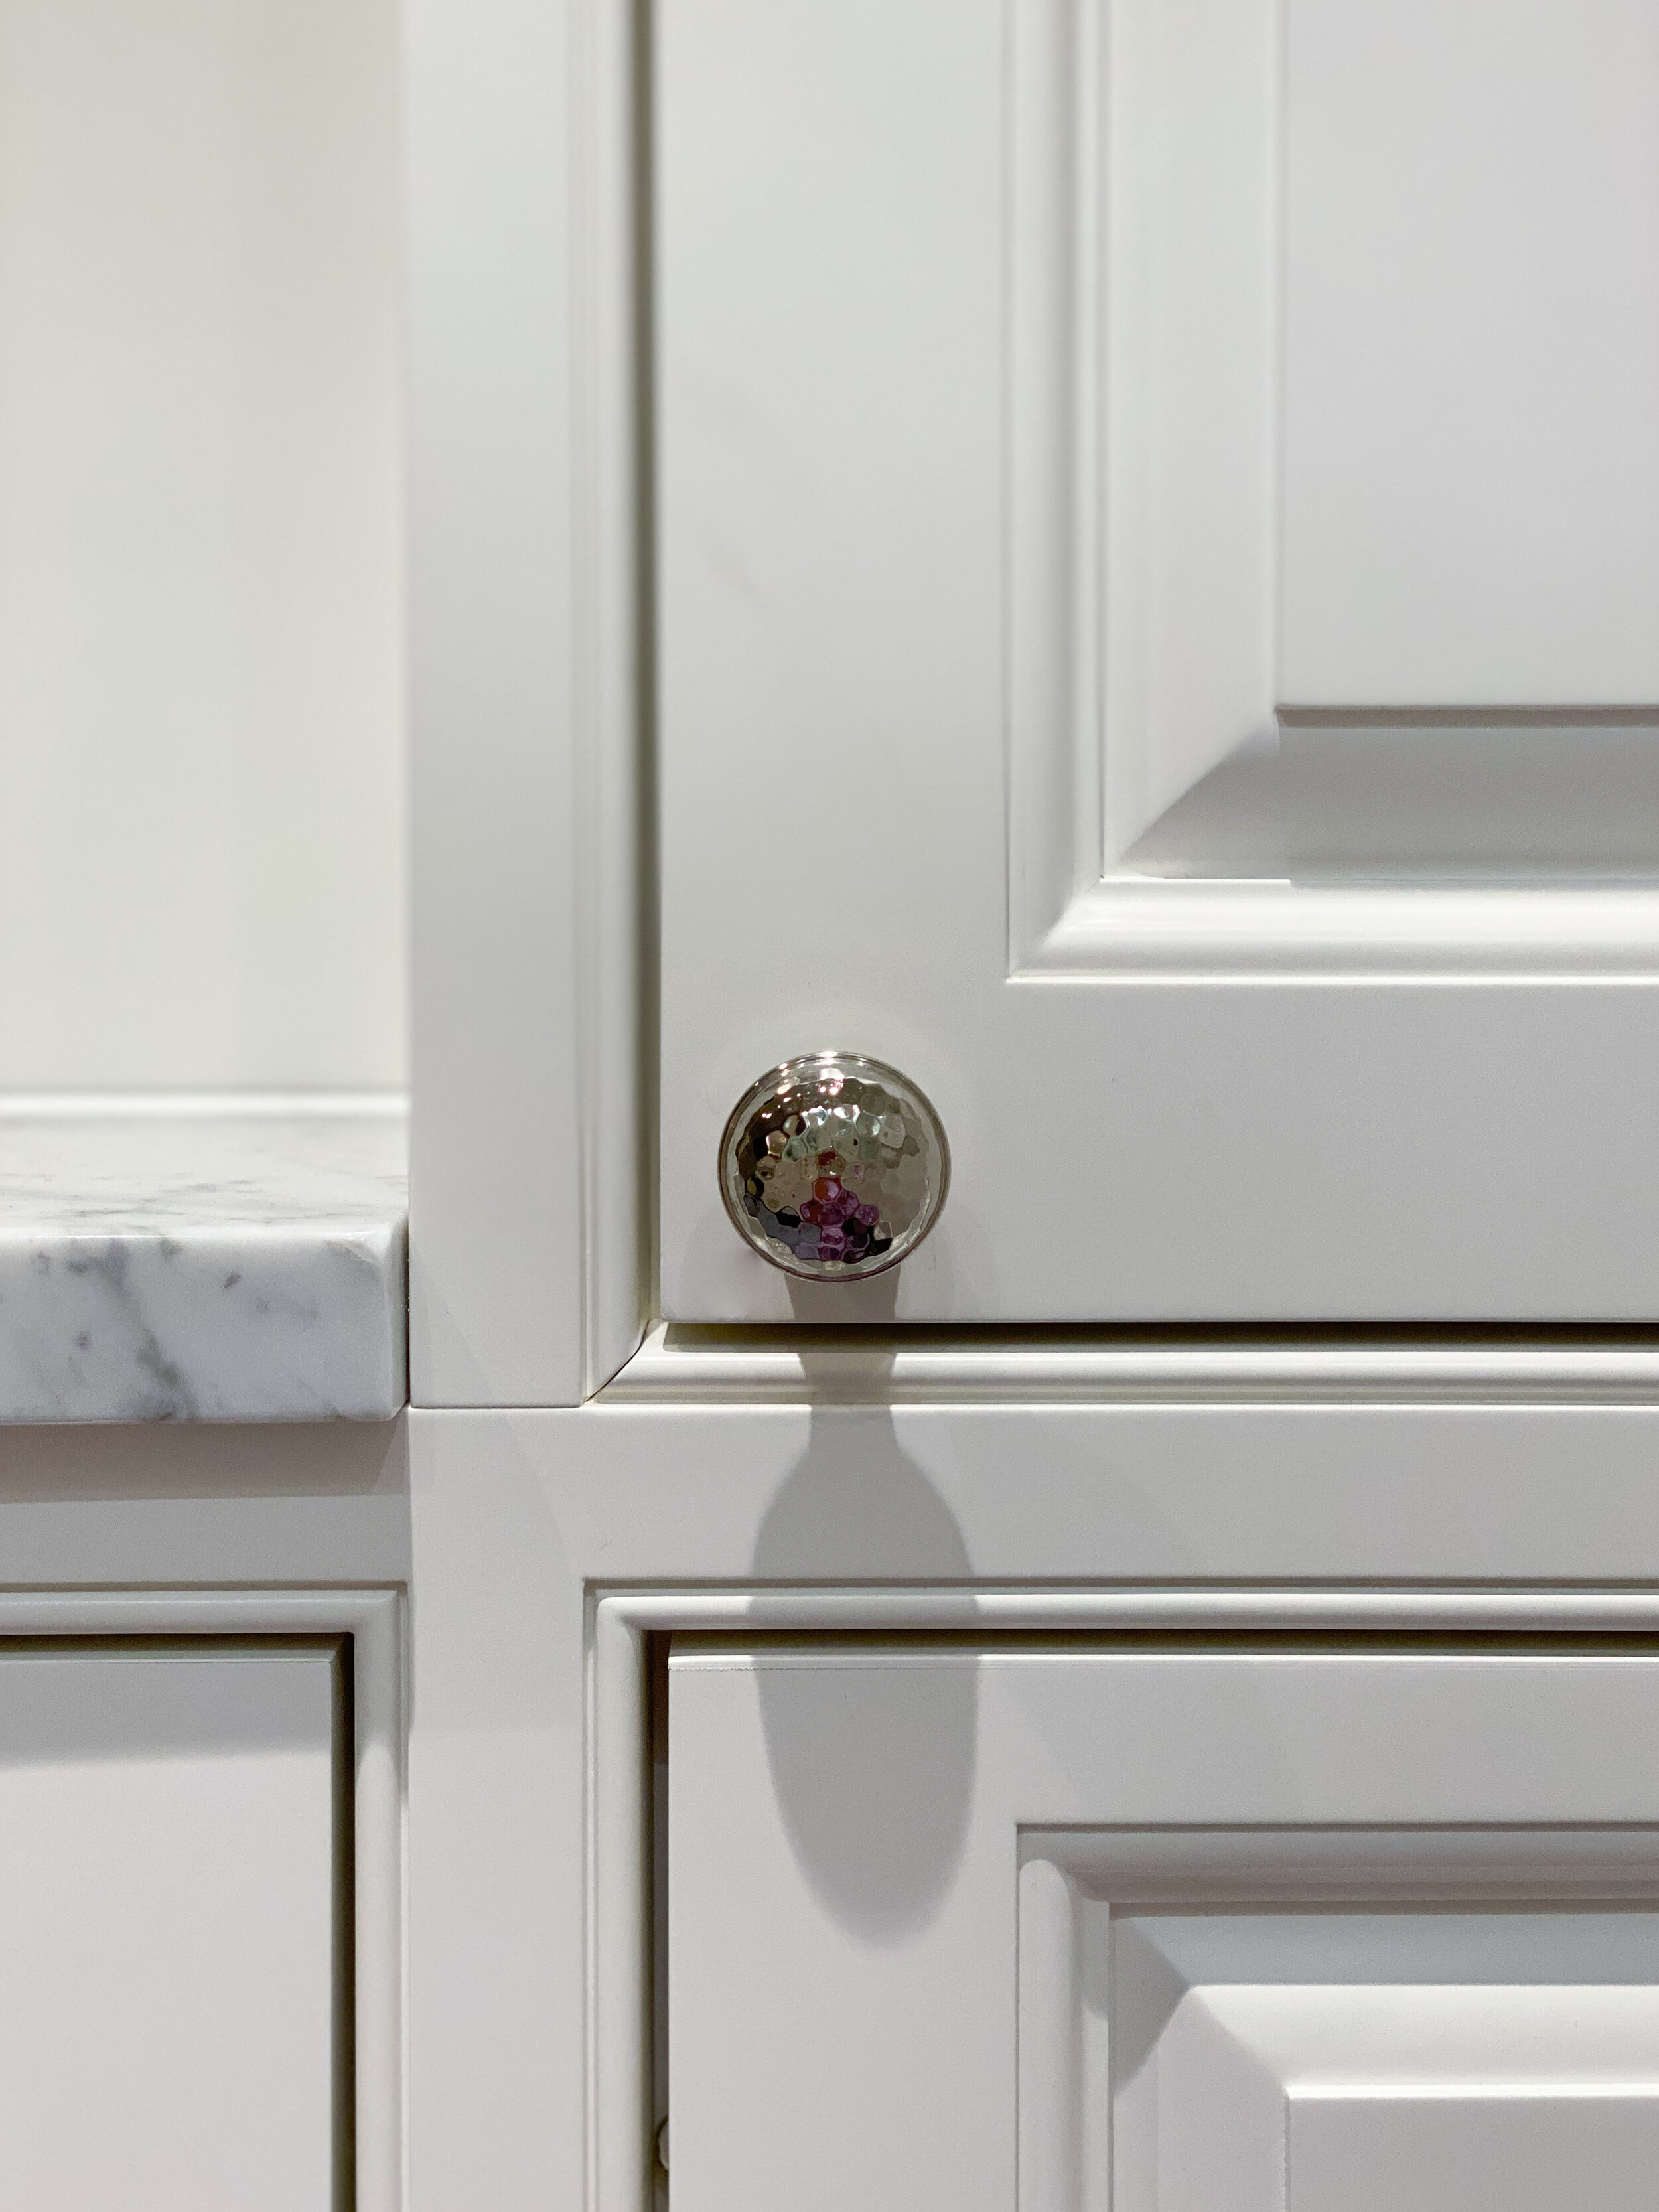
The beauty of this project lies in the relationship between contemporary furniture selections and the more traditional architectural details. Our team worked with the custom millworker to develop the kitchen cabinetry panel design which paid tribute to the intricate wall moldings throughout the apartment. To provide something extra special to our client in this space, we added a fascia toe-kick panel that provided a stand-alone furniture feel with softer curves and rounded edges. Can you say upgrade? The whole scene was enveloped in a fresh waterfall of crisp white paint (White Dove - our client’s favorite). Our last item on the list was the jewelry to make everything come together - the hardware.

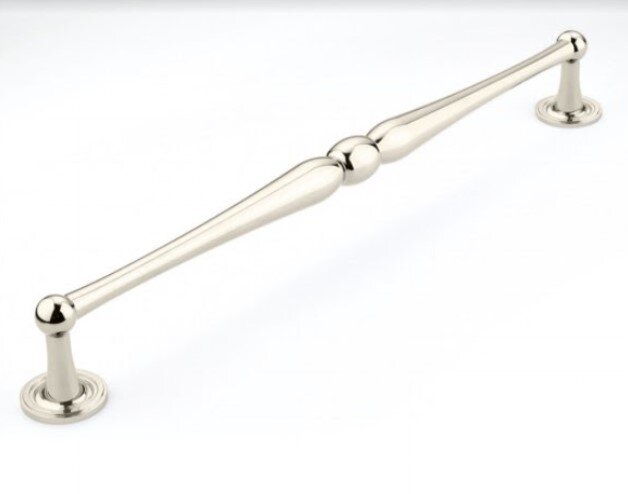
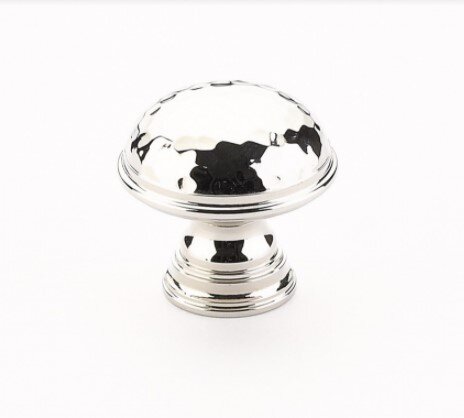
This design was fashioned with antique silver and polished nickel throughout the furniture selections. We decided to keep that design language, but with a more contemporary collection of hammered polished nickel pulls and knobs. These pieces are some of our favorites because of the level of detail and finish you see in the selections. These finishes were also picked up in the plumbing we specified from Waterworks (one of our favorites) but more on that in a future blog post!
What do you think of this clean and contemporary kitchen renovation? Is this lining up with what you have in mind for your own home transformation? If so, we have curated the project materials for you below. If you find yourself in an outdated kitchen that is difficult to work with, feel free to drop us a comment in the box below. You can also reach out to our team at info@akco.design to schedule a complimentary consultation!
Happy Friday, friends!